Run VMware Workstation and Hyper-V on the same machine without that Device/Credential Guard not compatible error, and you only really have two clean roads in 2026. Hyper-V, or the Virtualization-Based Security riding on top of it, grabbed your CPU virtualization extensions, and your older VMware build will not share. Road one keeps Hyper-V switched on: bump VMware up to Workstation 16 or later so it rides the Windows Hypervisor Platform, and both live together. Road two strips out Hyper-V and VBS, but only if you are chained to VMware 15 and never touch WSL2, Docker or Windows Sandbox. Exact toggles, restore steps and a decision table below.
The short answer
That VMware Workstation and Device/Credential Guard are not compatible error means
Hyper-V or VBS already owns your CPU virtualization extensions. Fix it two ways. Option A
(recommended): upgrade to VMware Workstation 16 or 17 so it rides the Windows Hypervisor
Platform, and both hypervisors coexist with WSL2 and Docker intact. Option B: strip out
Hyper-V and VBS for legacy VMware 15, knowing WSL2, Docker and Windows Sandbox go down with it.
You fire up VMware Workstation. You hit play. And it slaps you with this: "VMware Workstation and Device/Credential Guard are not compatible. VMware Workstation can be run after disabling Device/Credential Guard." Or it limps along in "degraded" mode and everything crawls. I've stared at that dialog way too many times. The cause is boring, honestly. Hyper-V (or the Virtualization-Based Security riding on top of it) grabbed your CPU's virtualization extensions, and your older VMware build won't share the toys. Two clean ways out in 2026. And the one I'd nudge most people toward? It keeps Hyper-V switched on.
Why the conflict happens
This is the part that trips people up. Hyper-V is a Type-1 hypervisor. It boots before Windows really gets going and lays claim to your CPU virtualization extensions, Intel VT-x or AMD-V. The Windows features stacked on top of it do the same thing, mainly Virtualization-Based Security (VBS), the umbrella over Core Isolation / Memory Integrity and Credential Guard. Older VMware Workstation (and VirtualBox before v6) wants those extensions for itself. Directly. No roommates. So it checks, sees someone already holding them, and either flat-out refuses or drops to dog-slow software emulation. That's not a bug. It's two hypervisors elbowing each other over the same hardware. You fix it one of two ways: teach them to share, or kick one off the box.
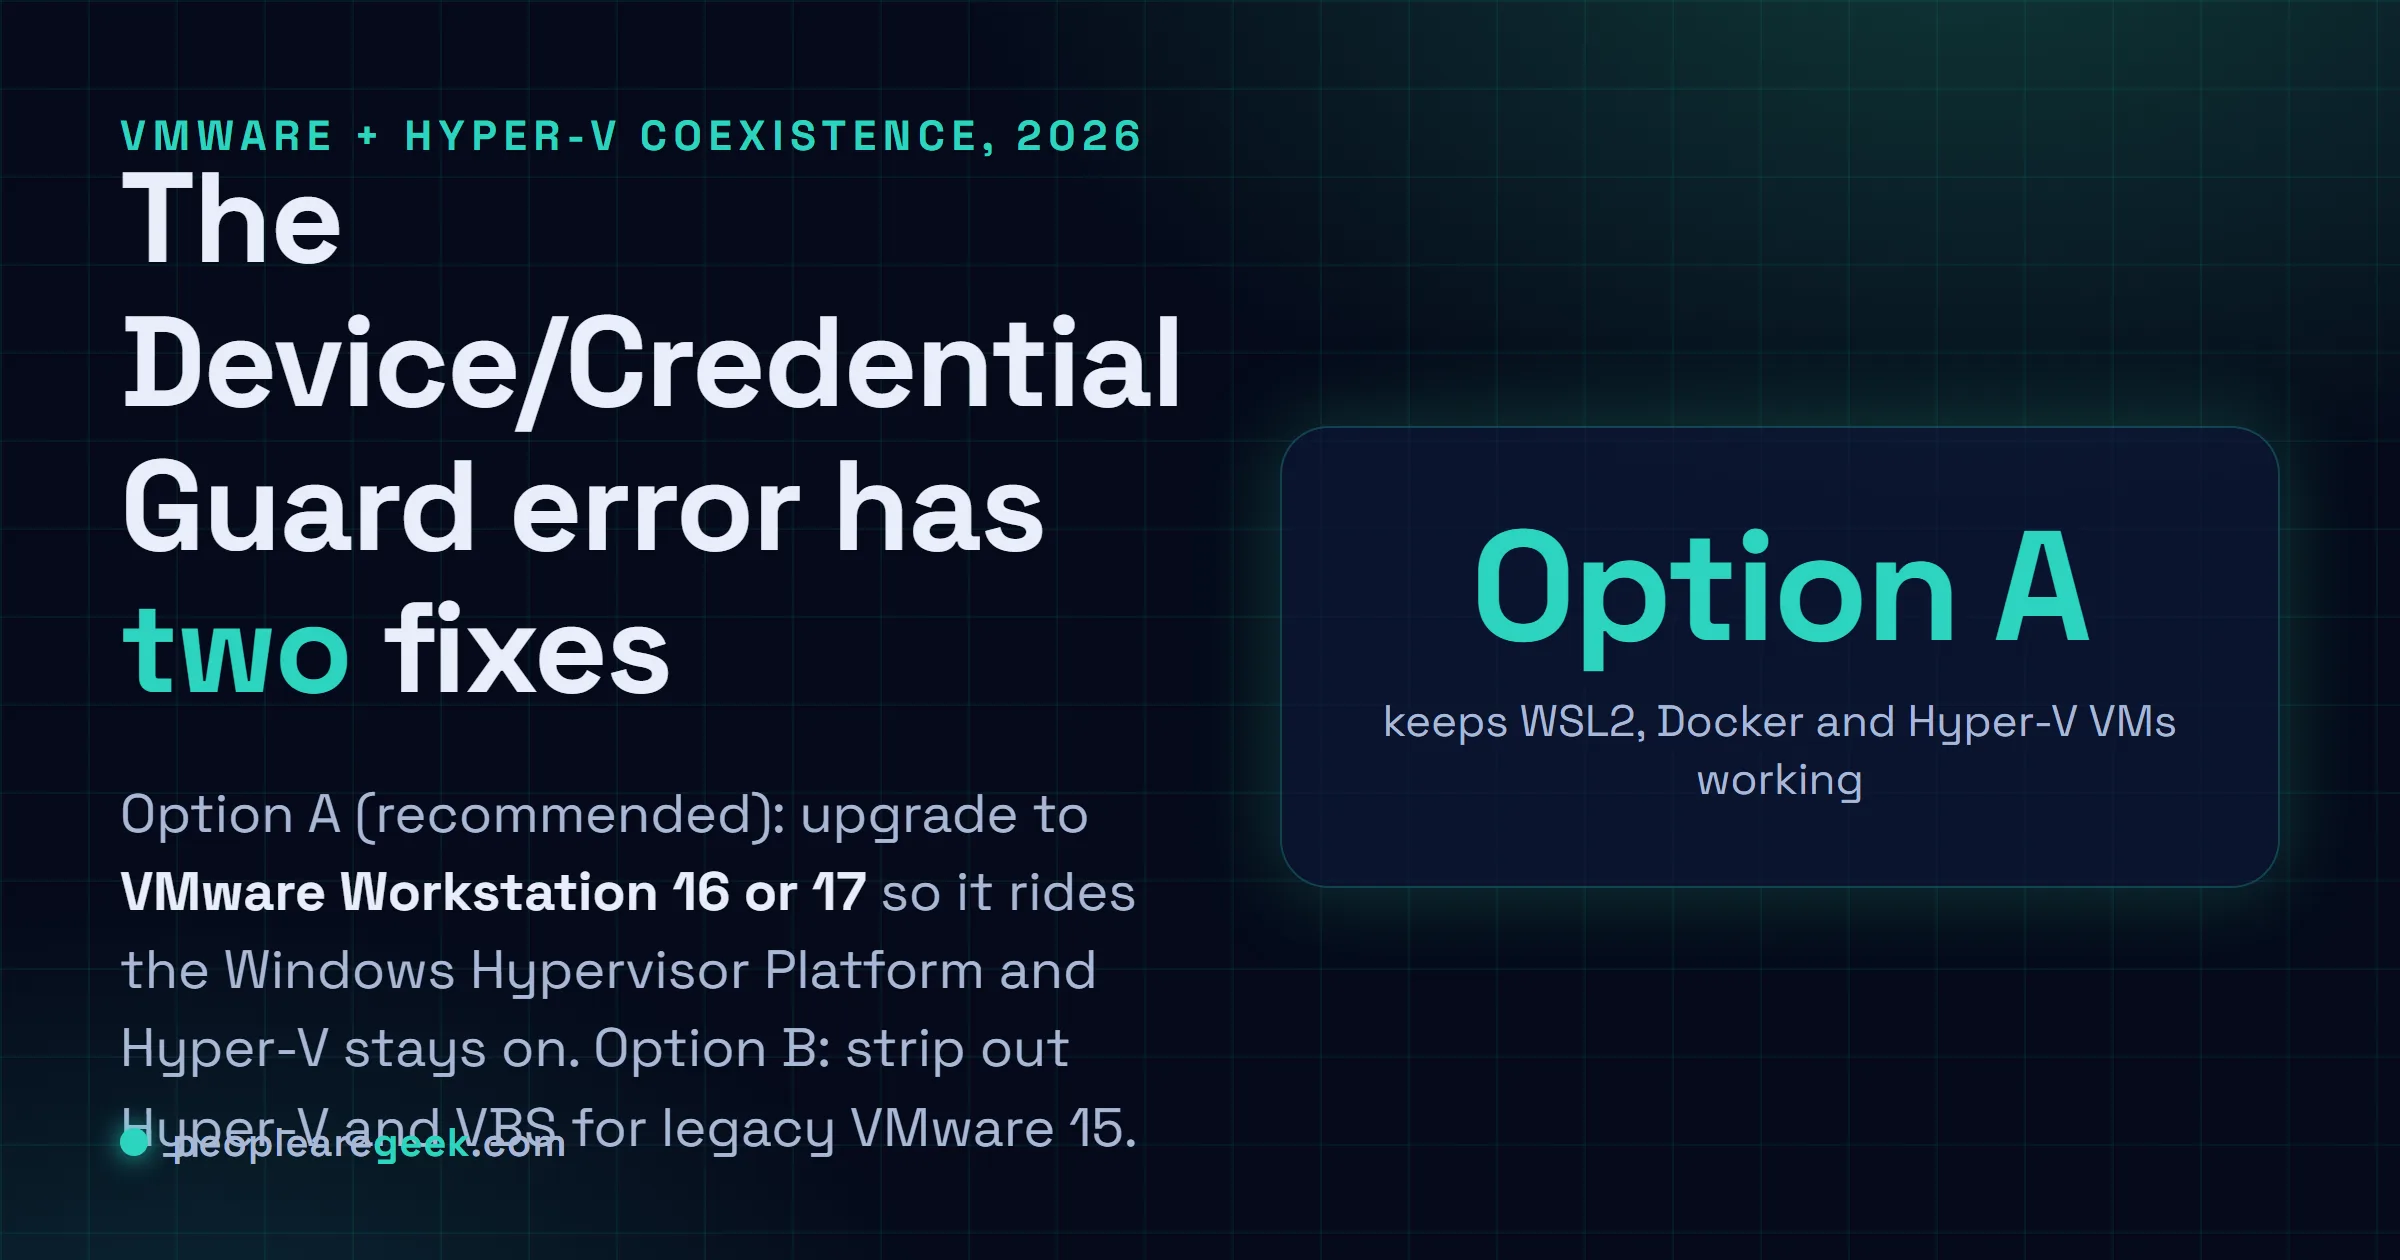
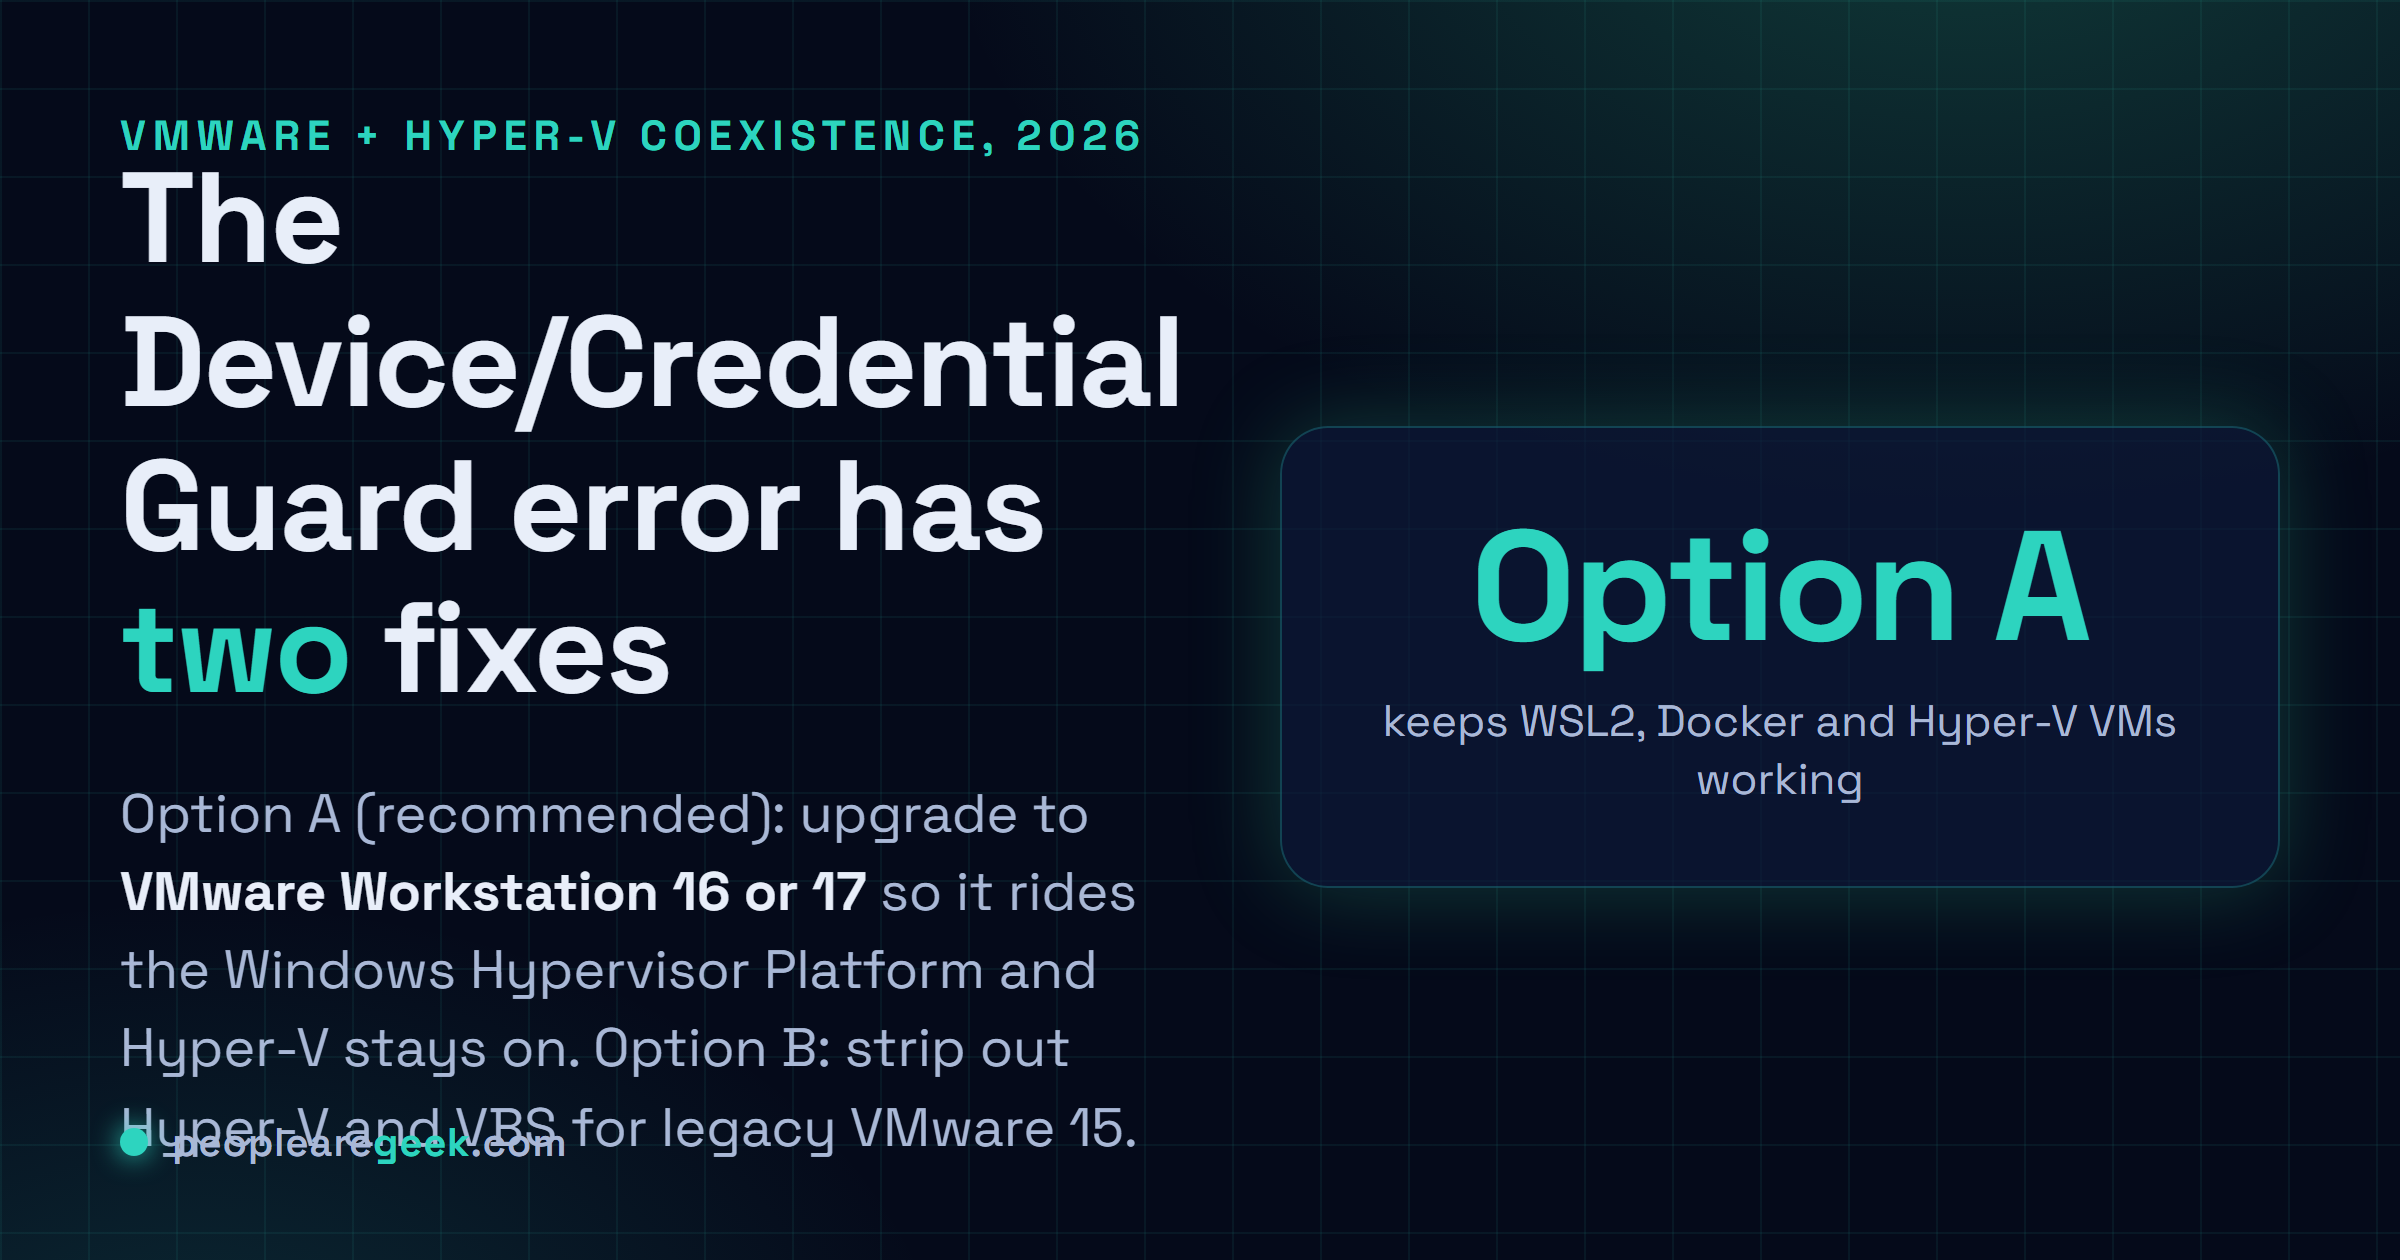
Option A: keep Hyper-V, upgrade VMware (recommended)
This is where VMware finally grew up. Starting with 15.5.5, and properly from Workstation 16 on, it quit demanding the raw extensions and learned to ride on the Windows Hypervisor Platform (WHP) instead. Translation: VMware and Hyper-V live together now. You give up nothing that leans on the Hyper-V stack.
- Upgrade to VMware Workstation 16 or 17, Player or Pro, doesn't matter. For most people that one move is the whole fix.
- Double-check the platform feature is actually there (it usually is the moment Hyper-V or WSL2 gets installed):
Enable-WindowsOptionalFeature -Online -FeatureName HypervisorPlatform -All
# WSL2/Docker also rely on this one:
Enable-WindowsOptionalFeature -Online -FeatureName VirtualMachinePlatform -All
Reboot. Fire up a VMware VM. Watch it run happily next to Hyper-V and WSL2, Docker too, with zero nagging. There's a small tax: VMware on WHP runs a touch slower than VMware on bare metal. For a Linux dev box or some throwaway Windows VM, though? You'll never feel it. At least I never have.
Stuck on VMware 15 because of licensing? Then Option B is your only road. I've tried the tricks. None of them get VMware 15 to play nice with an active Hyper-V.
Option B: disable Hyper-V and VBS (legacy)
Only come here if you're chained to VMware Workstation 15 or older, and you genuinely never touch WSL2, Docker Desktop, Windows Sandbox or VBS. Now the gotcha that bites everyone. You have to clear both the hypervisor and Virtualization-Based Security. Kill just one? VMware still spots the extensions as taken, and you're right back where you started.
- Turn off Memory Integrity: Windows Security > Device security > Core isolation details > Memory Integrity = Off.
- Stop the hypervisor at boot:
bcdedit /set hypervisorlaunchtype off- Turn off the Windows features in "Turn Windows features on or off" (or via DISM). All of them: Hyper-V, Virtual Machine Platform, Windows Hypervisor Platform, Windows Sandbox.
Disable-WindowsOptionalFeature -Online -FeatureName Microsoft-Hyper-V-All -NoRestart
Disable-WindowsOptionalFeature -Online -FeatureName VirtualMachinePlatform -NoRestart
Disable-WindowsOptionalFeature -Online -FeatureName HypervisorPlatform -NoRestart- Reboot. If Credential Guard got pushed by group policy or a registry key, it'll quietly come back at boot, so you'll need to clear that too. On a work laptop? Go bug your admin before you start fighting it.
Once it's back up, VMware 15 runs flat-out at full speed. The catch? WSL2 and Docker Desktop, plus Windows Sandbox, will now whine that the platform's unavailable. Which, yeah, makes sense. You just pulled the rug they were standing on.

How to turn Hyper-V back on
Took the Option B route, and now you miss Hyper-V or WSL2 (or Docker)? No drama. Just walk it back:
bcdedit /set hypervisorlaunchtype auto
Enable-WindowsOptionalFeature -Online -FeatureName Microsoft-Hyper-V -All
Enable-WindowsOptionalFeature -Online -FeatureName VirtualMachinePlatform -All
Reboot. Flip Memory Integrity back on in Windows Security if that's your thing. Then confirm the hypervisor actually came up with Get-CimInstance Win32_ComputerSystem | Select HypervisorPresent. Still got a VM that refuses to boot? Head over to the hypervisor is not running fix guide and work it from there.
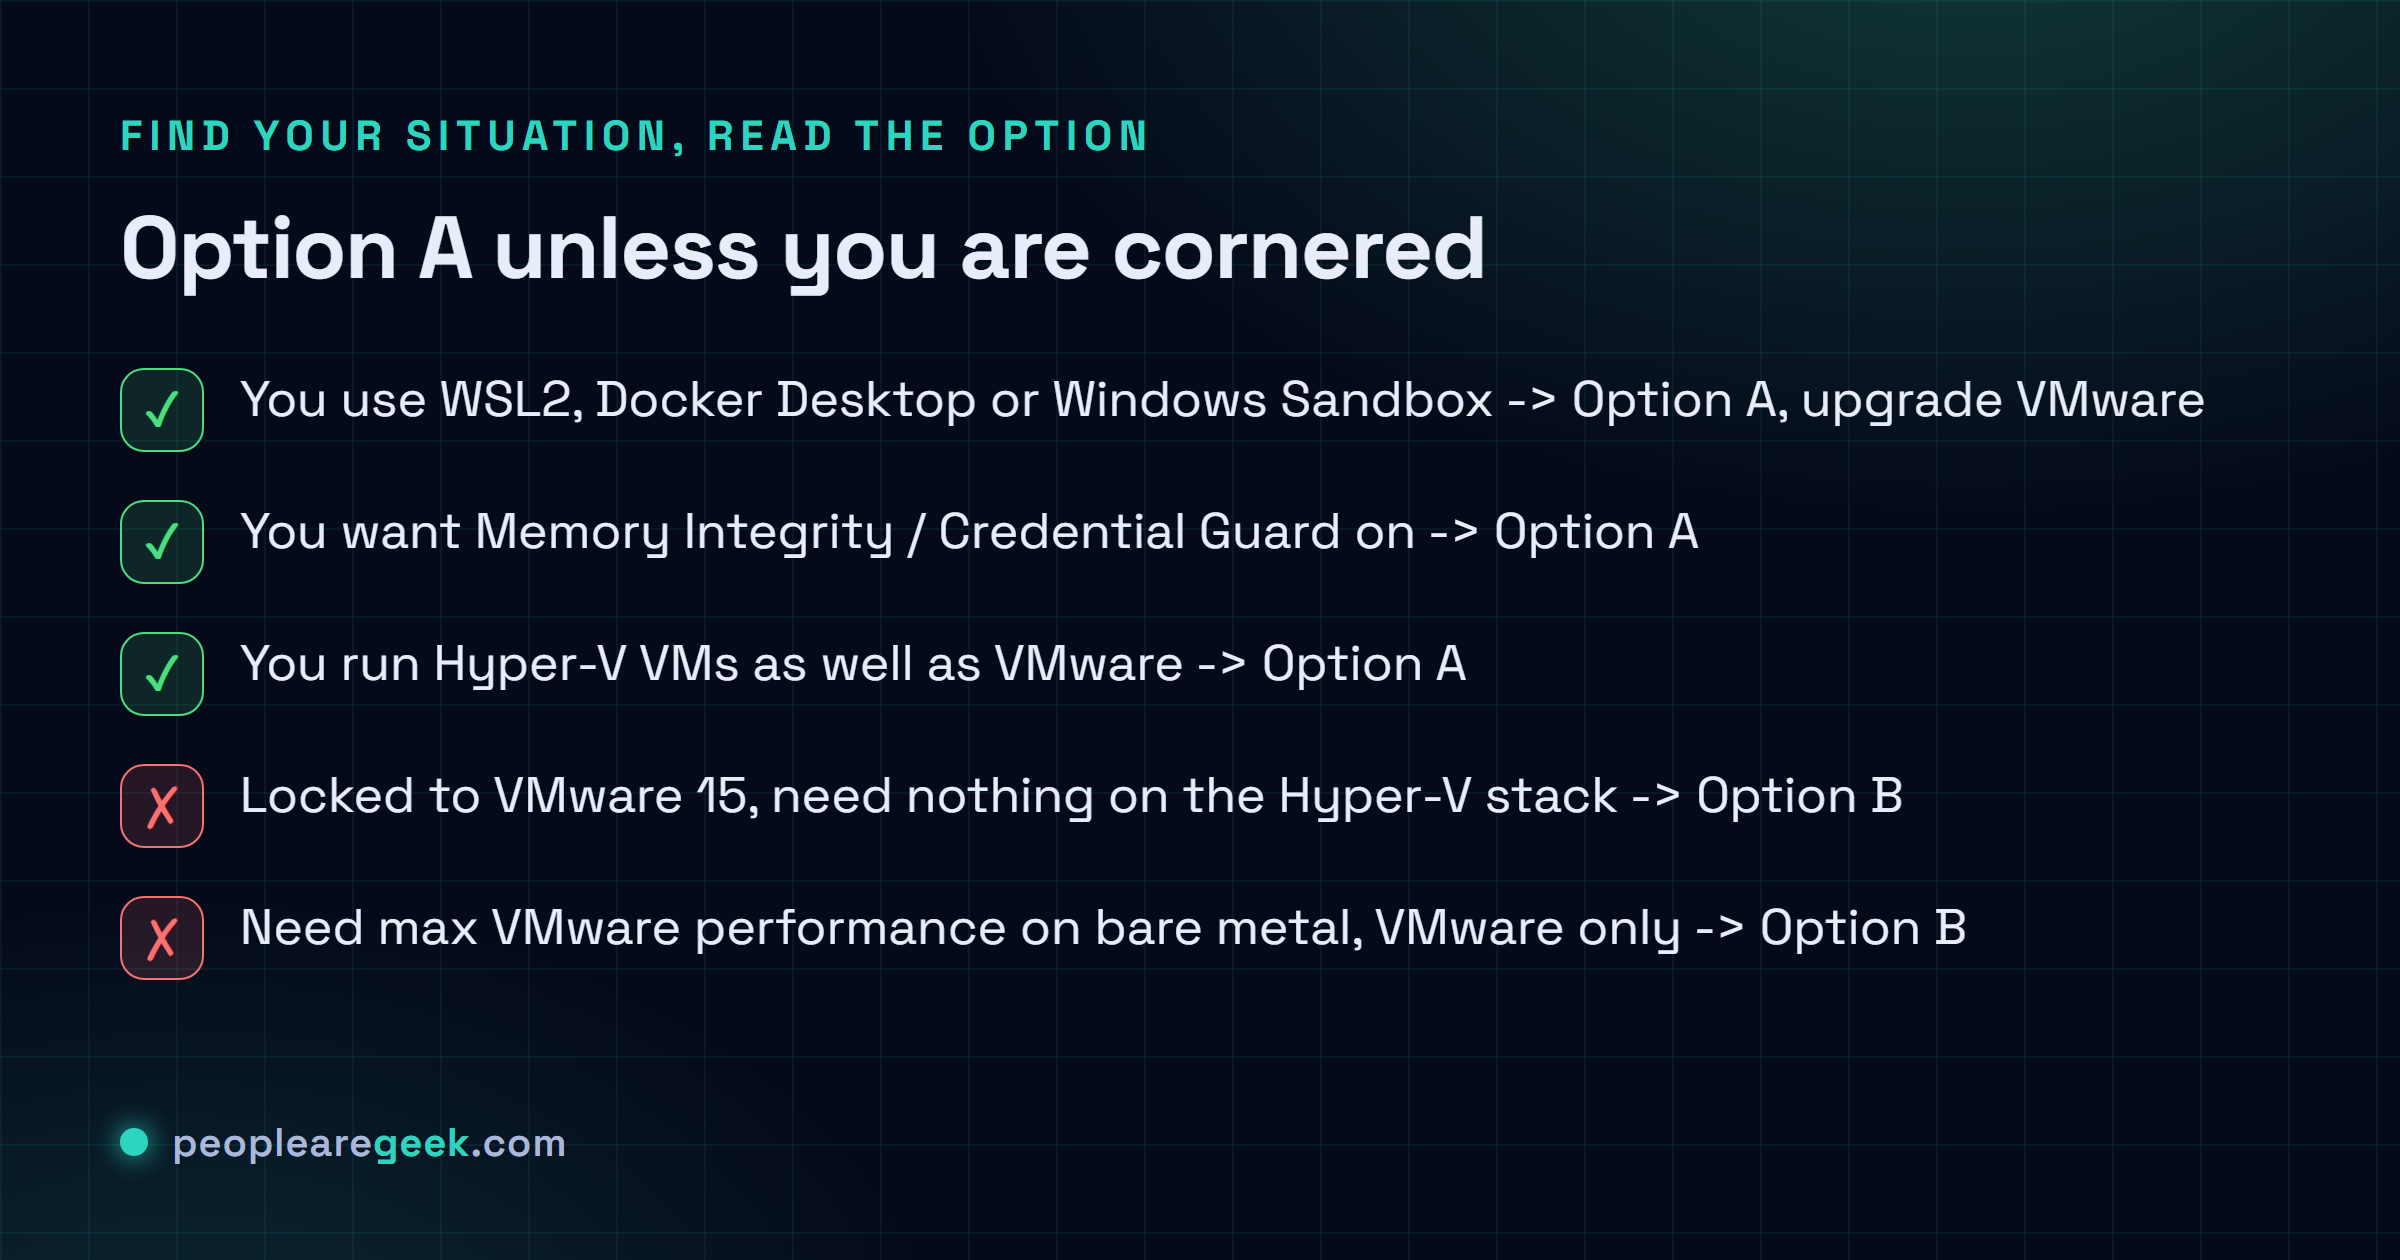
Which option should you pick?
| Your situation | Choose |
|---|---|
| You use WSL2, Docker Desktop or Windows Sandbox | Option A (upgrade VMware) |
| You want Memory Integrity / Credential Guard on | Option A |
| You run Hyper-V VMs as well as VMware | Option A |
| You are locked to VMware Workstation 15, need nothing on the Hyper-V stack | Option B |
| You need maximum VMware performance on bare metal and use only VMware | Option B |
For nearly everyone in 2026, go Option A. That's my read, anyway. Pay the upgrade once, then stop choosing between hypervisors every single boot. Option B is an escape hatch for the cornered. It's not a place to live.
Frequently asked questions
What exactly is Device/Credential Guard in this error?
It's Virtualization-Based Security. Behind that name sit Windows features like Credential Guard and Core Isolation / Memory Integrity. They run inside a little Hyper-V-backed vault that guards your credentials and your kernel memory. To pull that off, they grab the CPU virtualization extensions. The exact thing older VMware wants for itself. So the error calls them out by name and tells you to switch them off.
Will VMware run slower on the Windows Hypervisor Platform?
A bit, yeah. VMware now talks through the WHP API instead of poking the hardware itself. But for everyday desktop VMs, a Linux dev box, a quick test Windows install, I honestly can't tell the difference. Pile on heavy nested virtualization or something genuinely CPU-bound, and maybe you lose a few percent. That's the toll for letting both hypervisors live on one machine.
I disabled Hyper-V but VMware still complains. Why?
Classic trap. VBS keeps its grip on the extensions even after the Hyper-V role is gone. So turn off Core Isolation Memory Integrity, run bcdedit /set hypervisorlaunchtype off, disable the Virtual Machine Platform plus the Windows Hypervisor Platform features, then reboot. Still coming back? Odds are a Credential Guard group policy is quietly re-enabling it every time you boot.
Does this also affect VirtualBox?
It does. Same fight, different app. Good news, though: VirtualBox 6 and up can fall back to the Hyper-V backend on their own, and you'll spot a little turtle icon when they do, which just means running but slower. Bumping VirtualBox up is basically Option A wearing a different hat. Ripping out Hyper-V is Option B.
Can I script switching between the two modes?
You can, and honestly it's a slick trick. Make two boot entries with bcdedit /copy {current} and set hypervisorlaunchtype off on the new one. After that you just pick your hypervisor at the boot menu, no more toggling features and rebooting twice. One snag worth knowing. Memory Integrity still has to be off for the no-Hyper-V side, and that setting isn't tied to a boot entry. It's machine-wide.
Is it safe to leave Memory Integrity off?
It does drop your guard against a whole class of driver-based kernel attacks. On a dedicated lab box or a throwaway dev machine, I'm fine with that trade. It's not holding my life. But the laptop you live in every day, with real data on it? Different story. I'd take Option A there and keep Memory Integrity switched on. Maybe I'm overcautious. I'd rather be.