OpenShot 4.0 combines recording, colour work and a native timeline. Its useful change for tutorials is keeping the webcam, screen and microphone editable separately. That does not mean every audio source is available on every operating system.
What the release adds
The 30 August announcement introduces recording and colour workspaces, a native Qt timeline, local object masks and additional effects. Published speed improvements concern the project’s particular effect benchmarks, not an independently established export speedup for all videos.
The three sources do not contain the same data
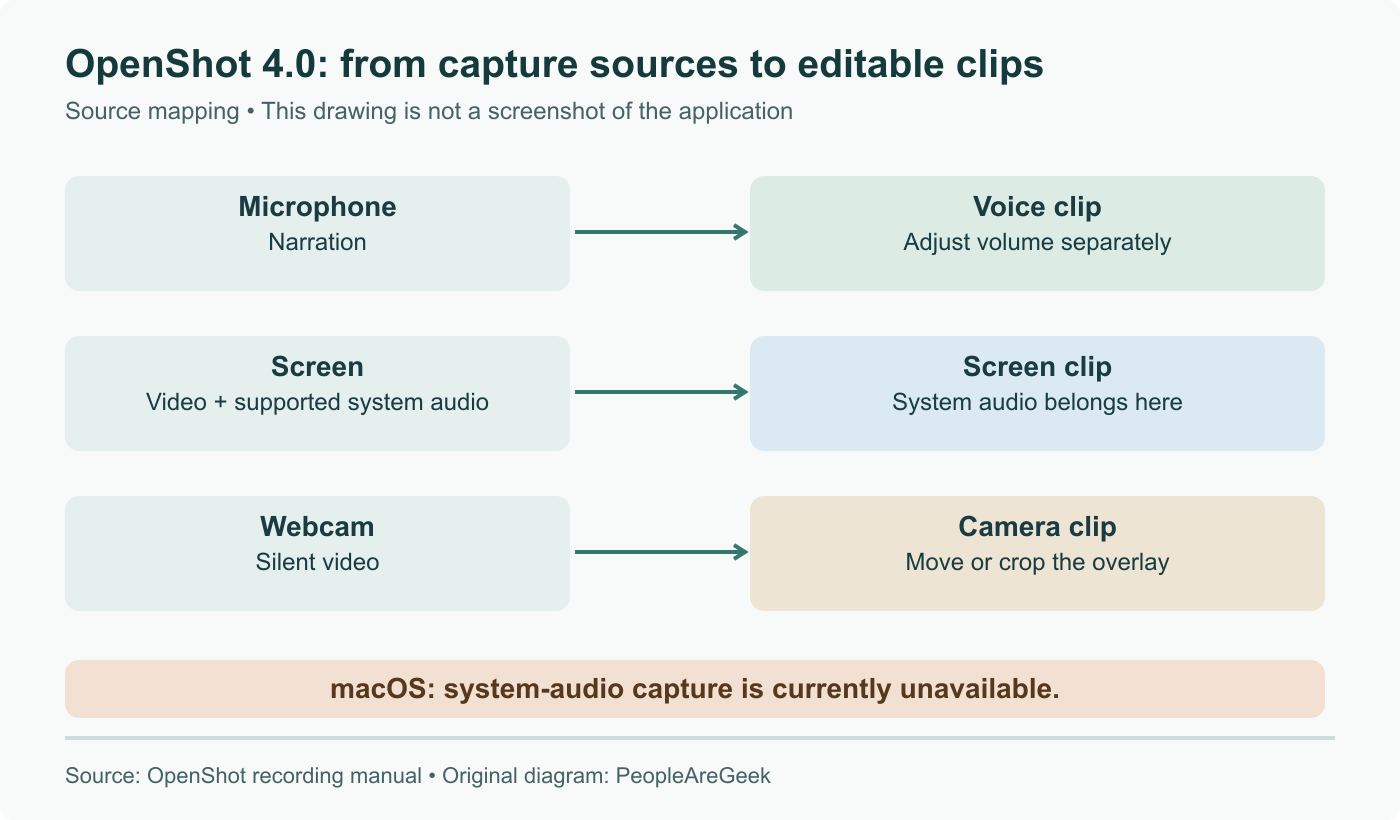
The recording manual distinguishes microphone audio, screen video with supported system audio, and silent webcam video. The microphone remains separate from the screen recording. System audio is currently unavailable on macOS; the disabled control is not evidence that your microphone is broken.
The diagram shows why this separation matters. You can lower the sound of a demonstration without lowering narration, or move the camera overlay without recropping the desktop. However, system audio is part of the screen recording, so it is misleading to describe four independent source files by default. Capture choices also depend on the active backend and permissions.
Make a 30-second acceptance clip
Before recording a long tutorial, capture a short sequence with a spoken sentence, an application sound and an obvious mouse movement. Use headphones to avoid recording the application sound twice through speakers and microphone.
Inspect each resulting source in isolation. Can you mute the voice while keeping the demonstration sound? Is the webcam silent? Does the pointer appear where the click occurs? The manual notes a possible displaced or missing pointer on some Windows displays with high-DPI scaling; check the actual recording rather than assuming the preview proves correctness.
Export the short sequence and reopen the exported file in a player. Check synchronization at the start and end, cropped text, audible levels and the intended frame dimensions. This is a suggested workflow, not an export test performed by PeopleAreGeek.
Correct colour before adding a look
The colour guide documents the Color Grade effect, curves, wheels and scopes. Open the tools from the clip’s Look menu. Compare a neutral reference in the shot before adding a creative tint; a LUT does not automatically fix an incorrect white balance.
Keep the source clip and an editable project copy. If highlights were clipped in the original recording, lowering their brightness can darken a blank region but cannot reconstruct detail that was never captured. Check important faces and text in motion, not only on a pleasing still frame.
Download from the official page and distinguish stable downloads from daily builds. Qt 6 groundwork is not an announcement of a supported Android release.
Sources
Checked the release and recording/color manuals; corrected macOS system-audio support and separated microphone audio from screen audio, with an original editing workflow diagram.